Micro Weather Station
The weather in UK can be very unpredictable to say the least 😄. Temperature and forecast checks are mandatory every morning to help to decide: (1) you do need an umbrella, (2) how much cover do we need for the cold. That’s why I has been thinking to design and build an outdoor weather station for about a year, and never had the chance (and the time) to do so until now.
The goal is to have a very simple outdoor weather station with basic sensors (temperature, atmospheric pressure, etc.) connected to home wifi network, showing the sensor readings in real time.
Design premises
The design premises for the weather stations are:
- Simple to build and maintain
- Able to resists to the elements (Rain, wind, etc.)
- Sun light powered
- Based on Arduino compatible hardware and software
- Connected to the wifi network to transmit data
ESP-01 (The Brain)
As the main component of the weather station, the microcontroller needs to read the sensors, connect and transmit the data over the internet. For this task I’ve chosen the ESP8266 ESP-01 due its flexibility, size and low cost.
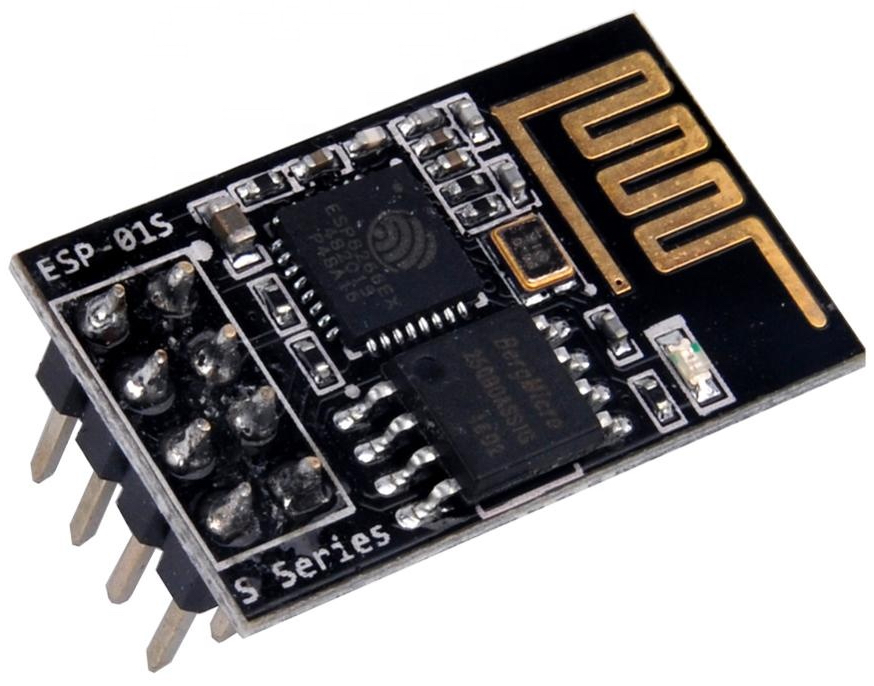 ESP-01 Wifi module
The ESP-01 is a Self-contained SOC (System On a Chip) module based on the ESP8266 microchip, which is a low-cost Wi-Fi microchip, with built-in TCP/IP networking software, and microcontroller capability. And best of all, fully compatible with Arduino development.
 ESP8266 integrated Circuit
ESP-01 Deep Sleep Mod
In order to allow the ESP-01 to wake up from a deep sleep, it requires a hardware modification via a wire jumper installation. Tech-Spy in this page shows the process step-by-step in great detail1.
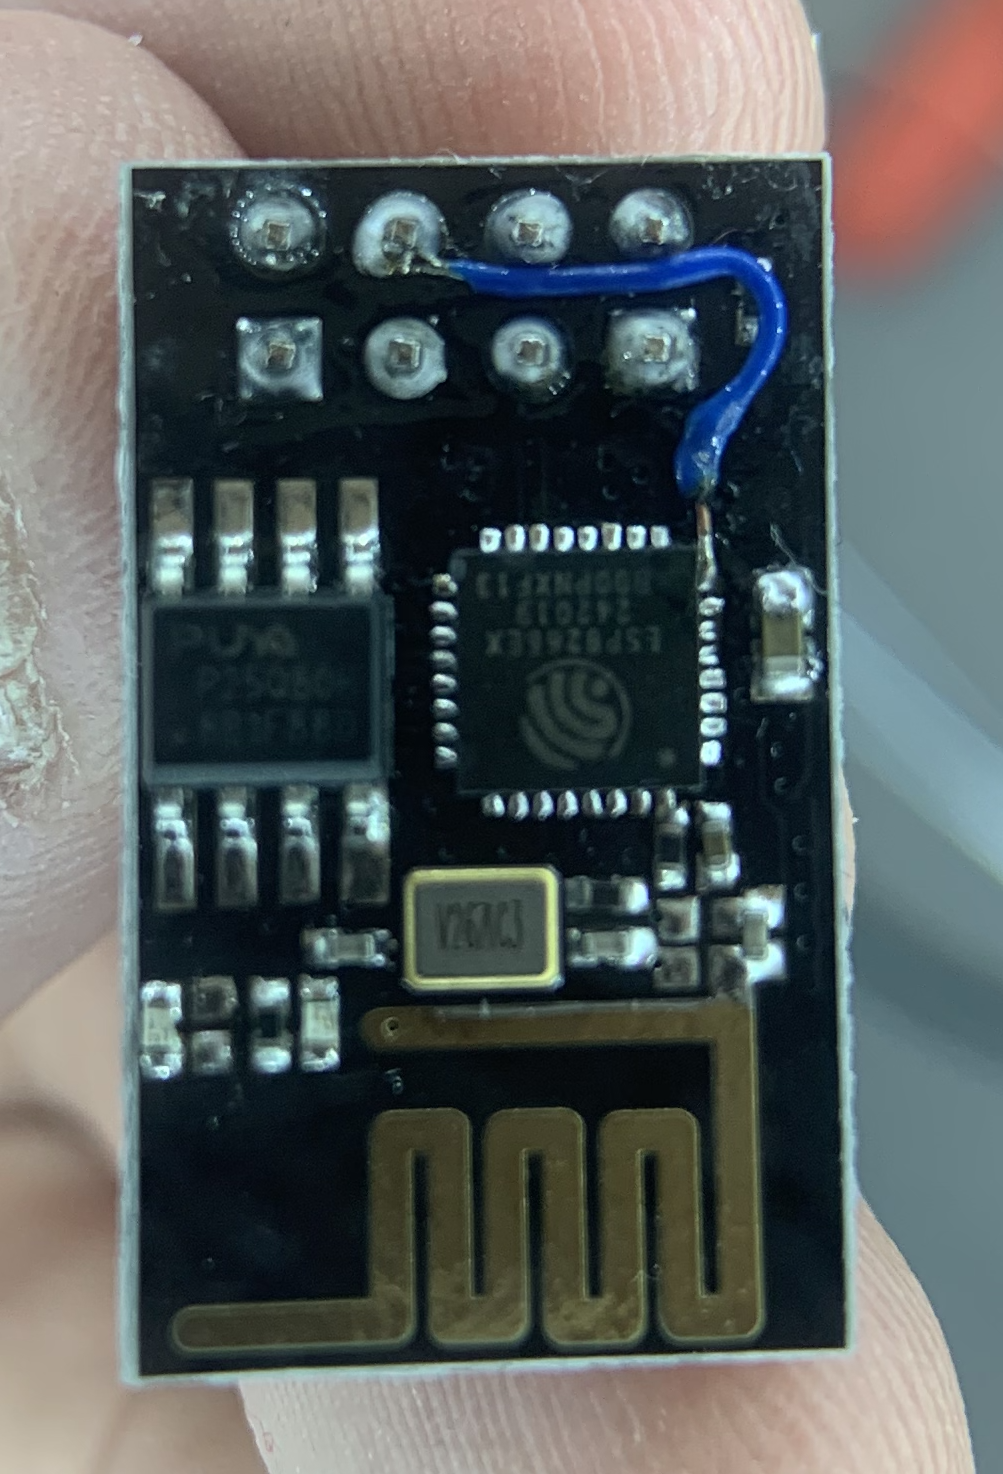 ESP-01 with Deep Sleep Mod
After this mod the ESP-01 module will drawn less the 30uA when in deep sleep, which can significantly increases the battery life.
Power from the sunlight
To power the station I’ve chosen a Samsung 18650 rechargeable battery, which can supply 3.6VDC @ 2500 mAh.
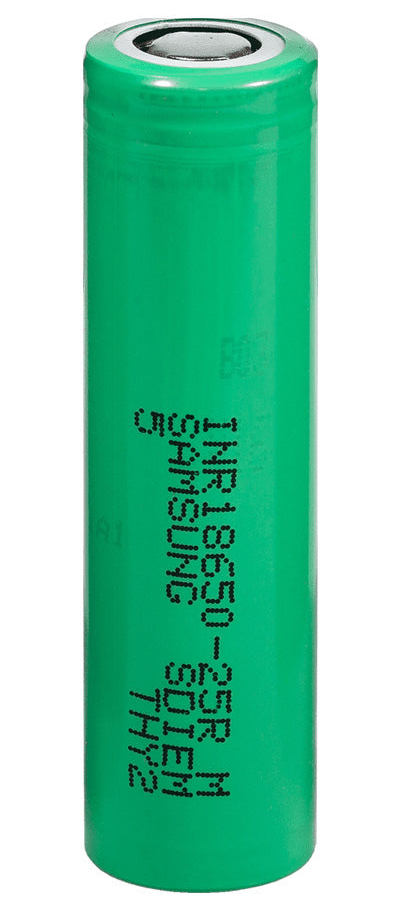 Samsung 18650 battery
As the ESP-01 module maximum supply voltage is 3.3V, and also during the charging the battery voltage can reach up 4.2V, a MCP1700-3302E 3.3V regulator was used to regulate the supply voltage to the ESP-01 module2.
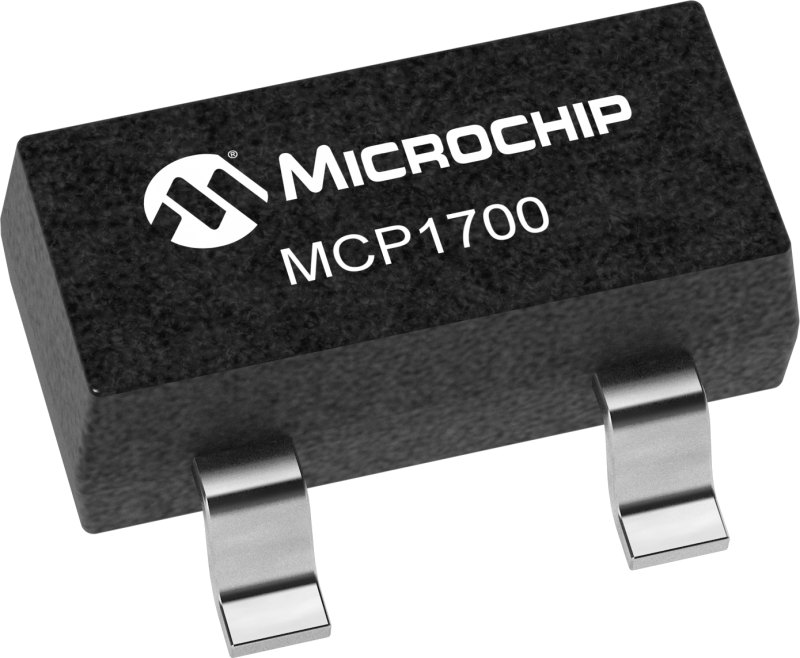 Microchip MCP1700-3302E 3.3V voltage regulator
A TC4056 module is used to charge the battery. This module is able to charge the battery via a micro USB connection, or via an external supply connected to the + and - terminals.
The external supply terminals were connected to a 180mmx180mm Solar panel to allow the solar powered battery charging.
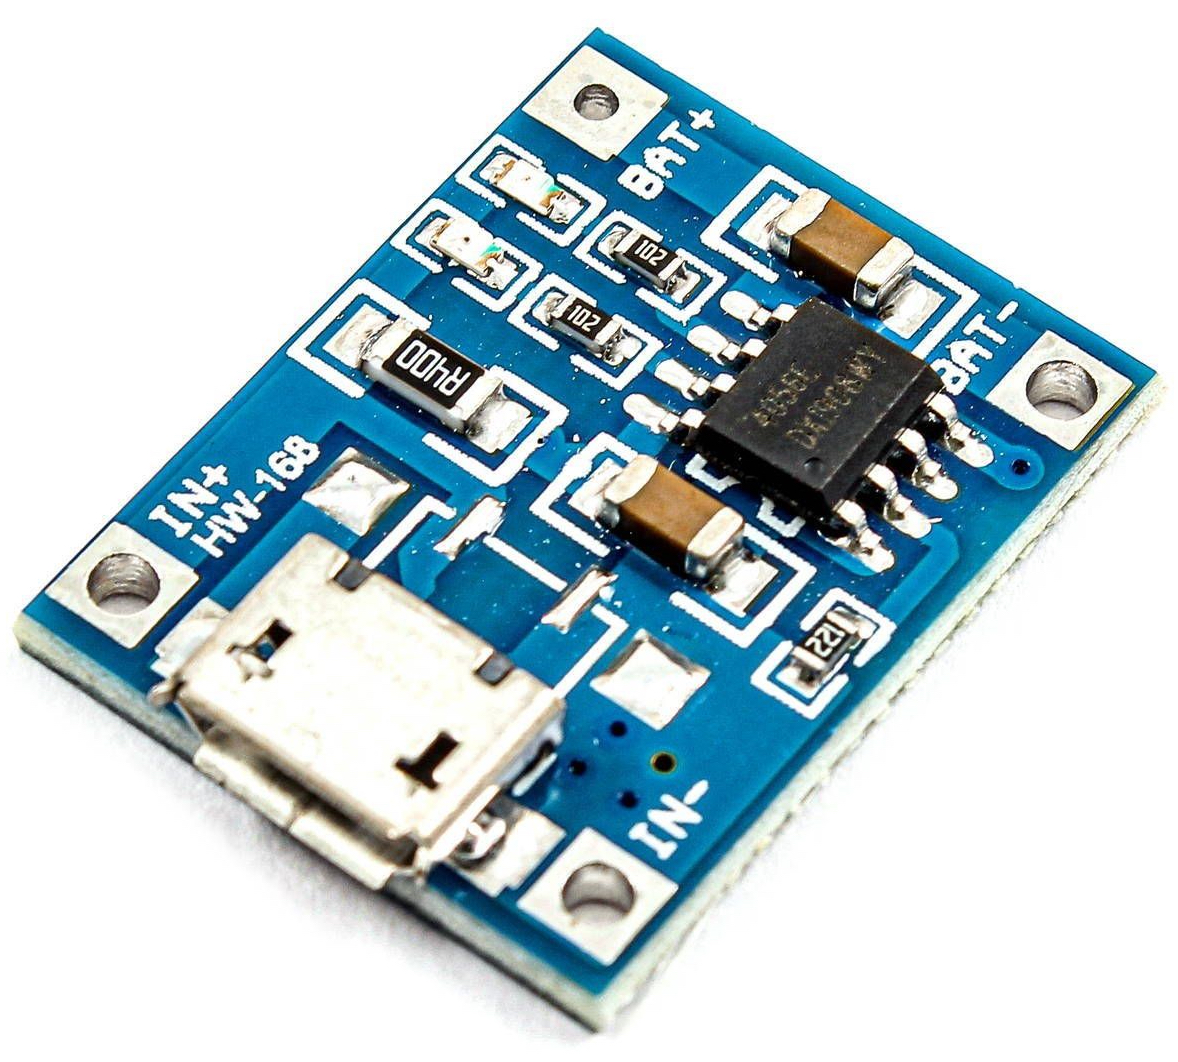 TC4056 charging module
Sensors
The key components of any weather station are the sensors. The kind of data the weather station is capable to collect rely on the type of sensor selected. To this micro weather station I’ve selected the Bosch BME280 sensor module.
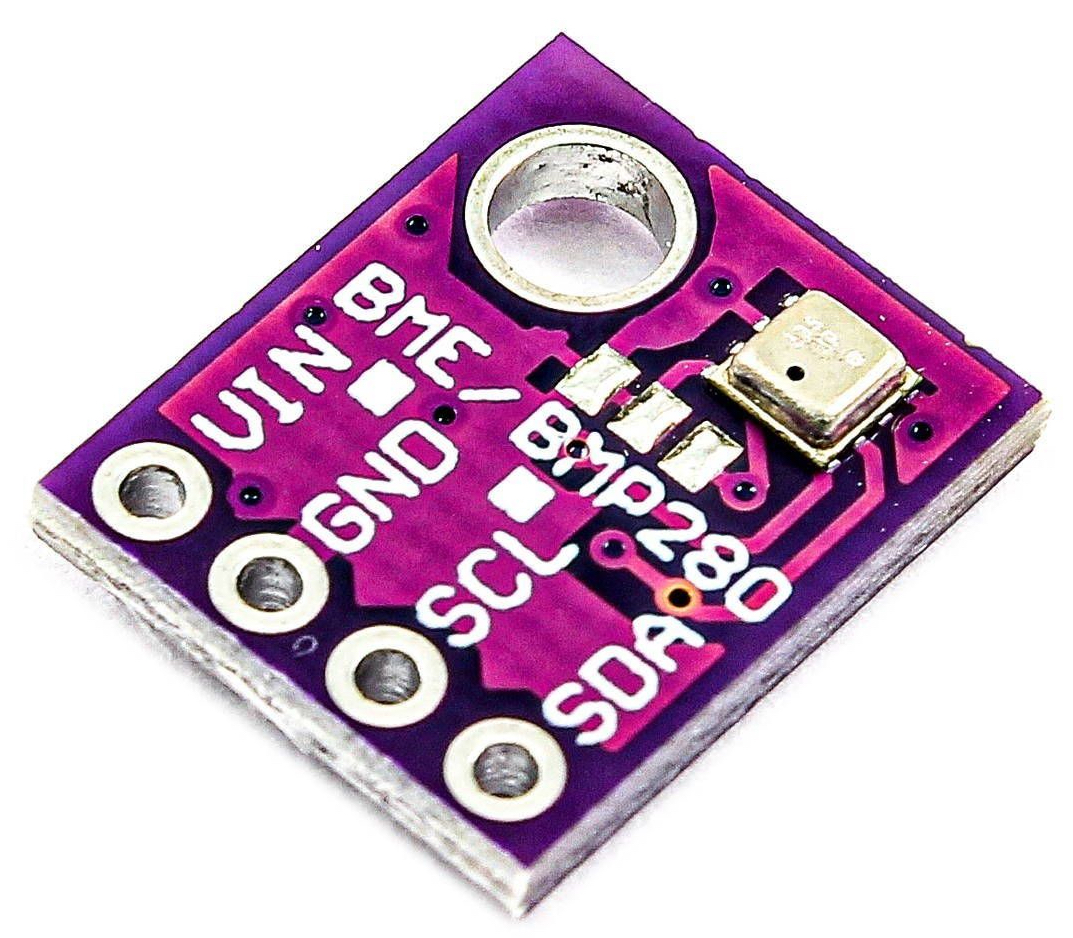 BMP280 Module
The BME280 module reads barometric pressure, temperature, and humidity. The module uses I2C or SPI communication protocol to exchange data with a microcontroller.
This sensor has high accuracy and low cost making it an ideal solution for precision pressure measurements of up to ± 1 hPa, temperature of up to ± 1.0 °C and humidity of up to ± 3%.
BME280 key features:
- Power supply: 3V
- Temperature: -40 to 85°C
- Humidity: 0 to 100%
- Pressure: 300 to 1100 hPa
- Altitude: 0 to 30,000 ft
- Communication: I2C and SPI Interface
The I2C protocol has been chosen to interface the BME280 with the ESP-01 module, as it only requires 3 GPIO pins to work.
Housing
To housing the weather station a custom 3D printed enclosure was designed. The enclosure design is based on the Stevenson’s screen which protect the internal electronics from the elements (rain, etc.), while expose the sensor to the outdoor temperature and humidity.
The enclosure comprises of eight conical sections attached to a centre mounted base which holds the PCB and battery. A solar panel support and a mounting bracket were also designed.
The solar panel support was divided in two section due the size limitation of my 3d printer.
All enclosure components were printed using a FLSUN Q5 printer and normal PLA filament.
 Weather station enclosure
The enclosure STL and Freecad RAW 3D files are available for download here.
PS: At this time I don’t know how long the PLA enclosure will last under sunlight. I recommend it to be printed using another material more sunlight resistant.
Putting all together
The bill of materials for this project is shown below:
| Qty | Description |
|---|---|
| 1 | ESP8266 ESP-01 WIFI module |
| 1 | BME280 sensor module |
| 1 | TC4056 USB changer module |
| 1 | MCP1700-3302E 3.3V regulator |
| 1 | Samsung 18650 3.7V battery |
| 1 | 18650 battery holder |
| 1 | 180mm x 180mm solar panel |
| 1 | 30mm x 70mm universal PCB |
| 1 | Custom 3D printed enclosure |
| 2 | 2 way male JST connector |
| 2 | 2 way female JST connector |
| 1 | Micro switch |
| 1 | 1000uF x 16V electrolytic capacitor |
| 2 | 100nF Ceramic capacitors |
| 1 | 3k3 1/8W resistor |
| * | Jumpers, wires, connectors, etc. |
Schematic
The weather station schematic is shown below. A high resolution PDF can be download here.
 Weather station schematic
PCB Layout is shown below and was created using the DIYLC Software.
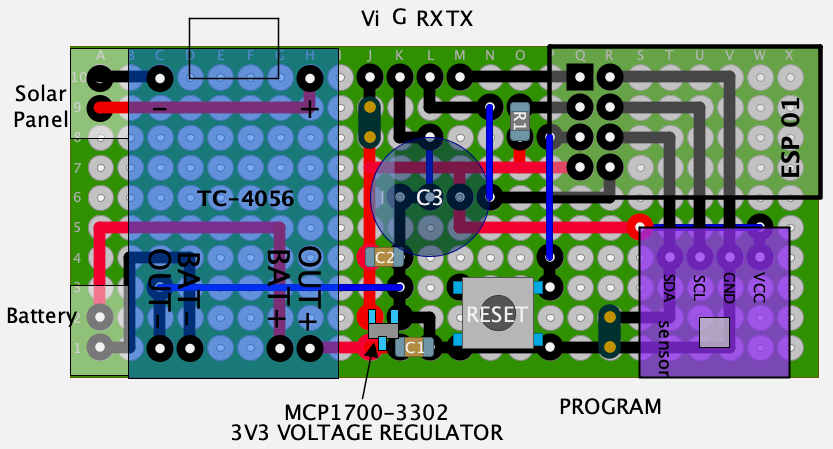 PCB layout
The components were assembled on a universal PCB as shown below.
 Assembled PCB
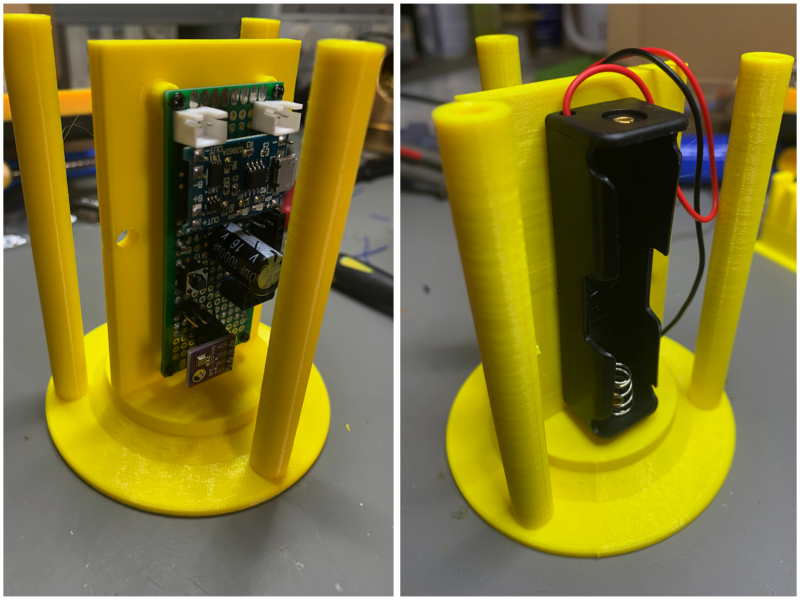 PCB and Battery on the base
Code, code, code
The code for the weather station was written in C for Arduino using Visual Studio Code Editor with PlatformIO. Full source code can be downloaded on my Github page here.
The station firmware uses three basic libraries:
- BMx280I2C (Read and process the BME280 sensor data)
- ESP8266 Boards (Support the ESP8266 microntroller hardware)
- WiFiManager (Easy way to setup the WIFI credentials)
The software basic workflow is to connect the ESP-01 to the internet via WIFI, read the sensor and transmit the data to the ThingSpeak Website and then put the ESP-01 into deep sleep.
Wifimanager3 allows to configure the AP connection of the ESP8266 to different access points (AP) without having to hard-code and upload the code every time you want to connect to a new AP. Also it can have custom fields to help to setup the Thingspeak details and configure the data publication/transmitt interval.
Every time the unit is switched on or the reset button is pressed, it activates the Wifimanager during the first 1 minute to allow the user to configure the unit. After this one minute timeout the unit resumes to its normal operation. if there’s no Access Point data saved, the Wifimanager is kept open all the time to allow the WIFI credentials to be configured.
ThingSpeak Channel
ThingSpeak is an IoT analytics platform service that allows you to aggregate, visualize, and analyze live data streams in the cloud. You can send data from the sensors directly to ThingSpeak server.
The link for the station ThingSpeak channel is https://thingspeak.com/channels/1664931. Below are the temperature and pressure live stream data from the station.
A mobile application called Thingview can also be used to access the live data of the station.
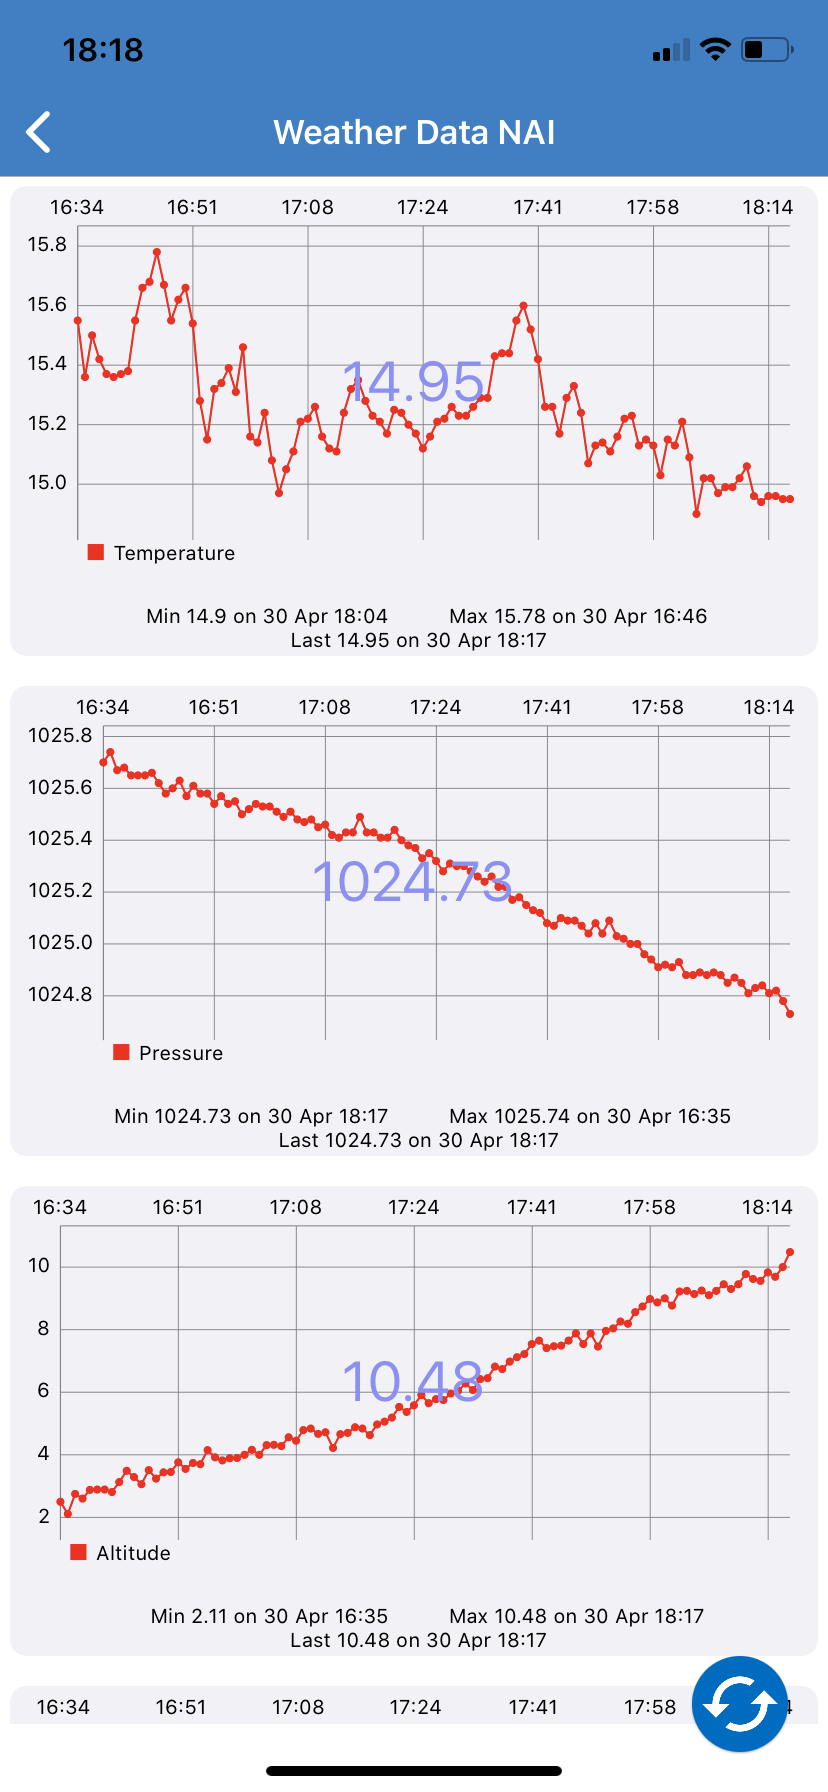 Thingview mobile application
Conclusion
The simple weather station project is very useful as the weather data can be checked any time from anywhere. The station works 24/7 without interruption with no change in the battery level. It means the solar power charger is working as design. Hope you enjoy this project and if you have any question please drop a comment below.
Notes and references
-
Googling “ESP-01 deep sleep” will return several websites with more information about this mod, including some youtube videos showing it step-by-step. ↩
-
Another more suitable to breadboards 3.3V regulator may be used as soldering SMD on universal boards can be tricky. ↩
-
Random nerd tutorials has a good tutorial about the Wifimanager here ↩