Run QUCS Studio on MacOs
QUCS (http://qucs.sourceforge.net) is a great free and open source circuit simulator. It specially useful to simulate RF and High Frequency circuits. QUCS also can run natively in most operational systems. However, the QUCS project looks to be on hold and is not updated for quite some time now (2017).
Luckily there is another free (not open source though) simulator derivates from the QUCS called QUCS Studio (http://qucsstudio.de), which receives frequently updates and has all QUCS functionality and more. But, as nothing is so perfect, QUCS Studio only runs on Windows operational system nativelly.
In order to have QUCS Studio running on my Mac my first thought was to have a windows virtual machine running on my MacBook, and then run QUCS Studio. This solution looks good at first sight, however run a virtual machine requires a Windows license/image and it also always slow things down as uses quite a lot of computer resources. Nah! My Macbook is old! No need to slow it more! So, let’s go to the next possible solution.
My next thought was run QUCS Studio through Wine (https://www.winehq.org) which is a well known software that allow to run Windows application on MacOs and Linux. Unfortunately, I discovered that Wine doesn’t run on MacOS Catalina (my current OS). So, no hopping here! 😔 Next please!
Searching on Google ❤️, I’ve found a marvellous piece of software that solve my problem. PlayOnMAC (https://www.playonmac.com/en) is a free MacOS App design to run or play Windows Application on MacOS. Below I describe how to install and Setup the PlayOnMac App to run QUCS Studio. 👇🏼
Download and Install PlayOnMac
Download the last version of PlayOnMac here. Open the .dmg file and move the PlayOnMac App to your application folder.
Download and Install QUCS Studio
1 - QUCS Studio latest version can be found here. Unpack the zip file content to a folder. Ex: qucsstdio.
2 - Run PlayOnMac App. Click on “Configure”

3 - Click on “New” to create a new virtual drive

4 - Click “Next” on the following windows as shown below.

5 - Select “32 bits windows installation” and click “Next”

6 - Select “System” and click “Next”.

7 - Type a name for your virtual drive and click “Next”.

Wait until PlayOnMac finish to create the virtual drive.
8 - Select the created drive and the “Miscellaneous “tab

9 - Select “Open virtual’s drive directory”

10 - Open “drive_c” folder


11 - Copy qucs_studio folder(step 1) and paste into PlayOnMac “drive_c” folder

12 - Go to “Configure”, select the “qucs_studio” virtual drive, “Install Components” tab and install “vcrun2010” to the substrate simulation works. Wait until the software finish to install.

13 - Go to “Configure”, select the “qucs_studio” virtual drive, “General” tab and click on “Make a new shortcut from this virtual drive”.

14 - Select “qucs” from the list and click “Next”

15 - Choose the shortcut name and click “Next”

16 - Click “Cancel” to back and then close configuration window

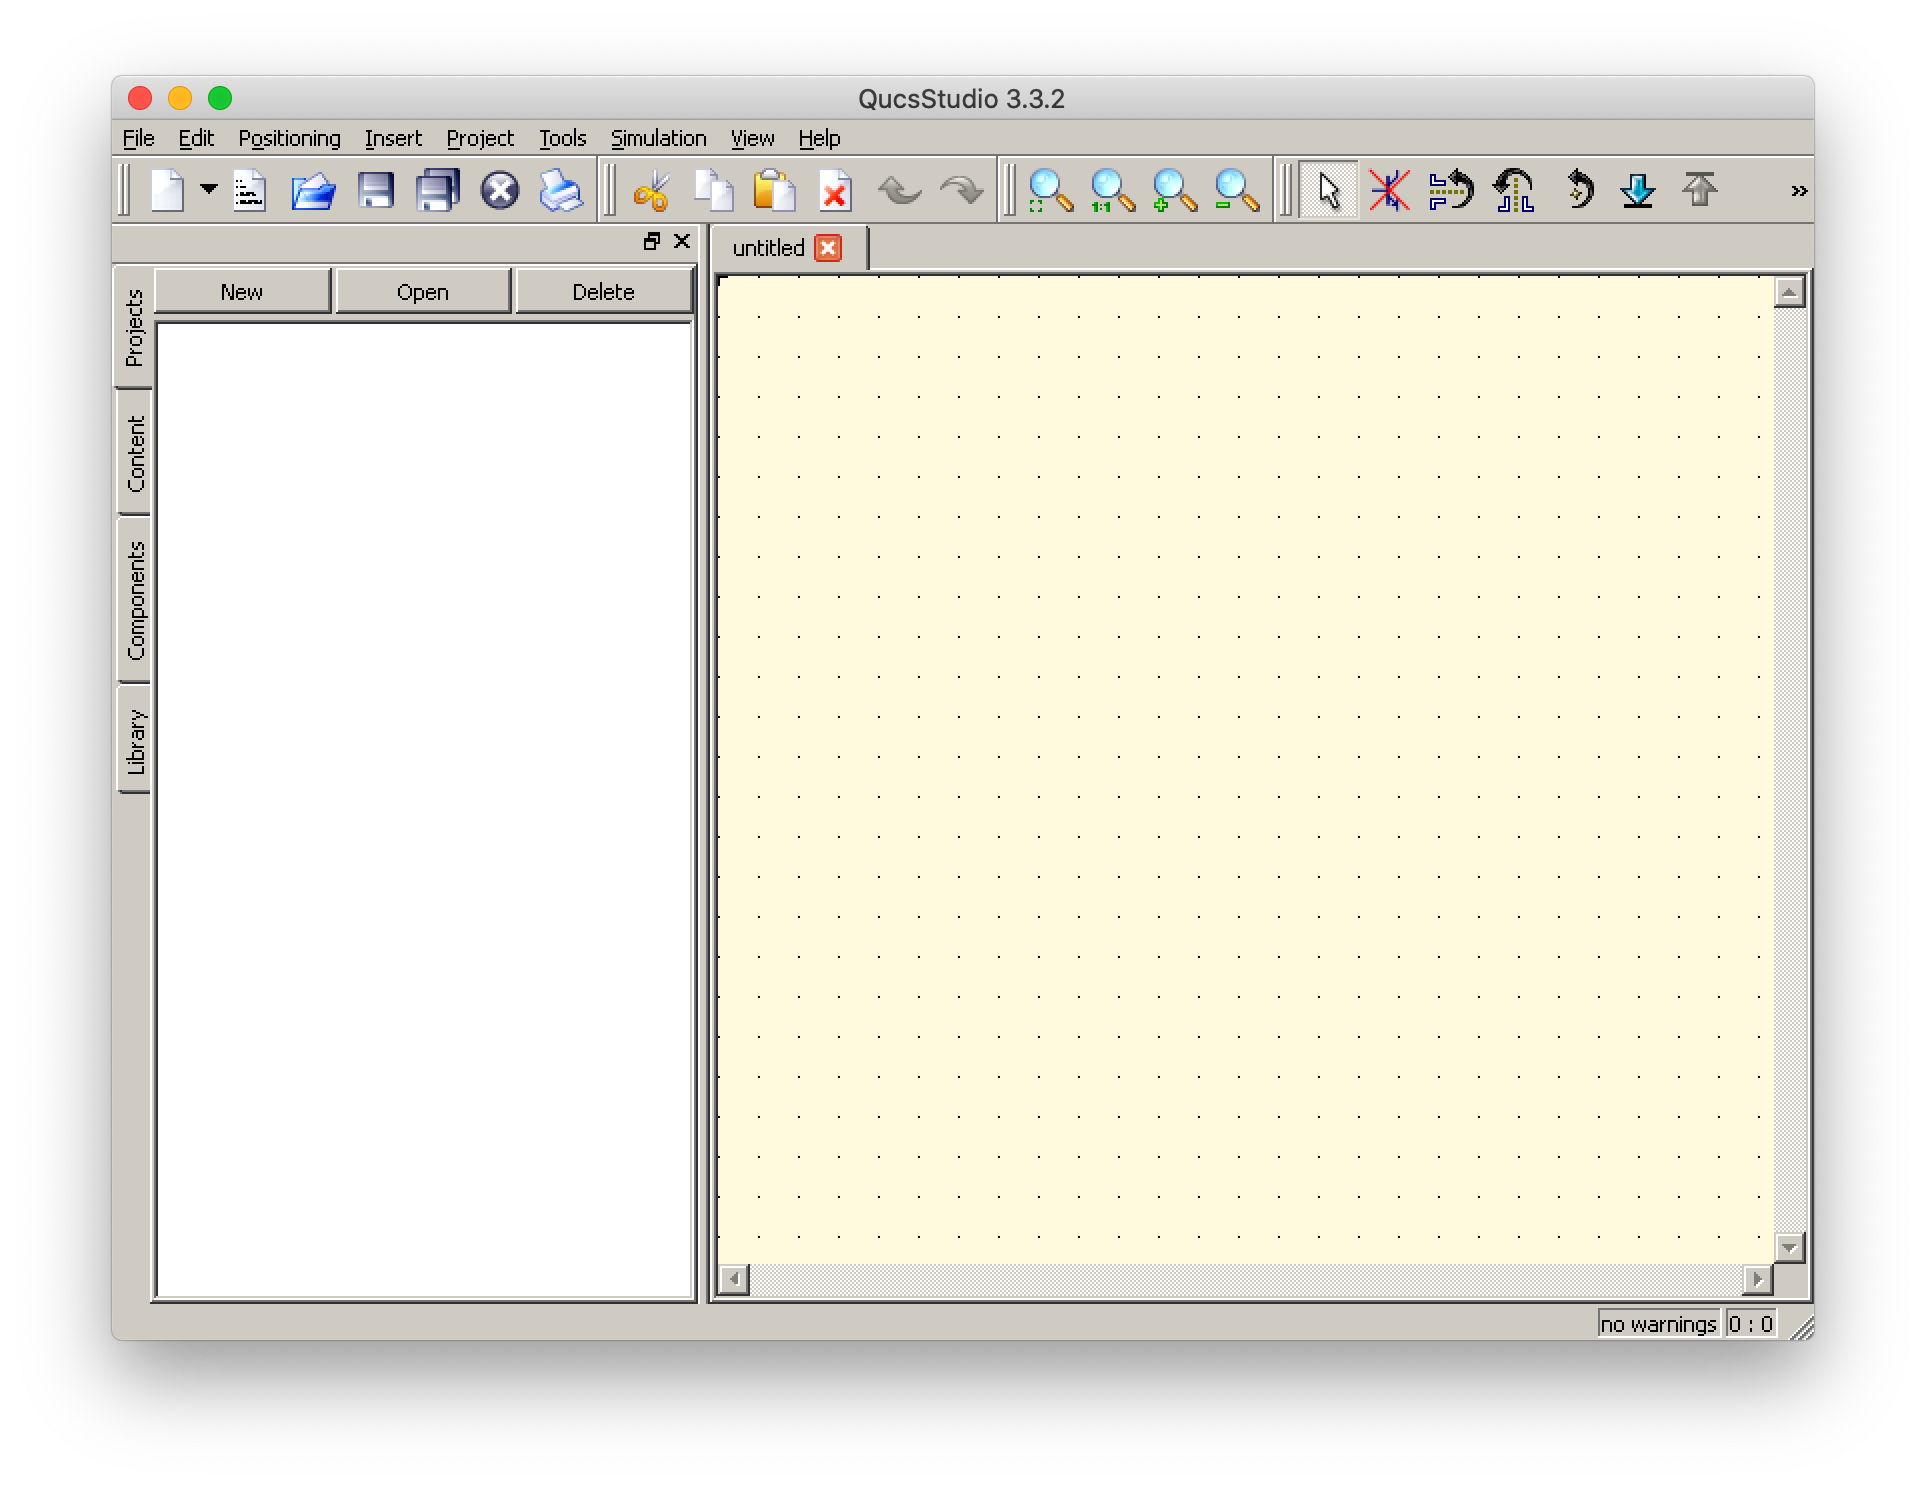
17 - Double click on the shortcut to run “QUCS Studio”

18 - “QUCS Studio” up and running smoothly 😊

Now you can enjoy this nice piece of software! Drop me a message (vandersonp@gmail.com) if you have any question! 😉